
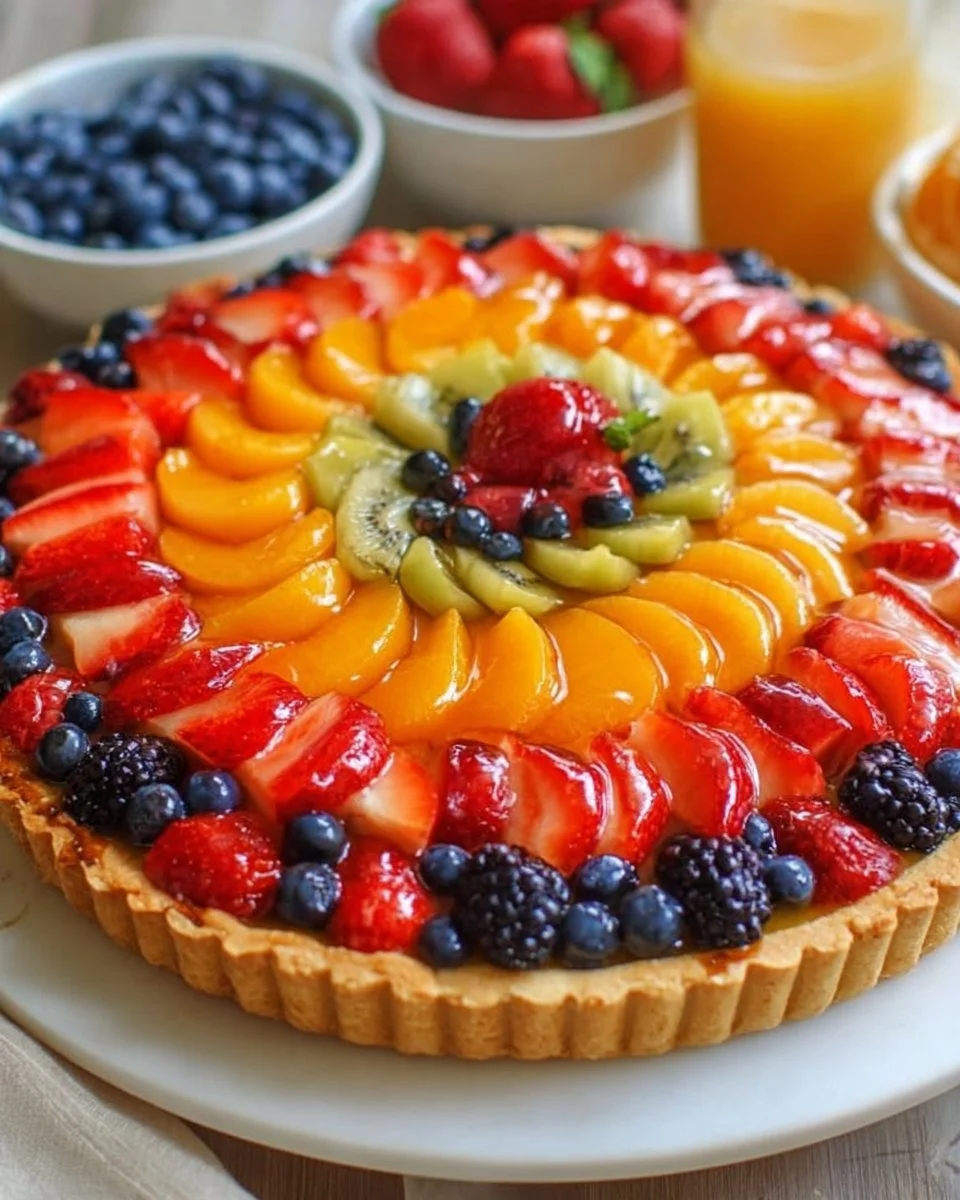
One of the joys of home baking is creating delightful desserts that not only taste incredible but also look fabulous. The Homemade Fruit Tart stands out as a perfect example of a dessert that’s as pleasing to the eyes as it is to the palate. With a buttery crust, smooth vanilla pastry cream, and a colorful array of fresh fruit, this tart is the ultimate treat to impress your family and friends. Plus, it’s surprisingly easy to make! Whether you are hosting a gathering or simply treating yourself, this fruit tart is a must-try recipe that celebrates the beauty and flavor of fresh ingredients.
What Makes This Recipe So Good
This recipe excels for several reasons. It combines simple, affordable ingredients that are easy to find, making it accessible for cooks of all skill levels. The tart crust is a delightful buttery base that pairs perfectly with the rich vanilla pastry cream, while the fresh fruit adds a burst of flavor and freshness. The versatility of the recipe means you can customize it with your favorite seasonal fruits, making it suitable for any time of year. Finally, the tart can be prepared ahead of time, allowing you to enjoy your events without the stress of last-minute baking!
How This Sweet Treat Comes Together
Creating this fruit tart is a straightforward process that entails making a simple tart crust, preparing a creamy filling, and arranging fresh fruit on top. You start by mixing the dry ingredients with butter, then incorporating the egg yolk to form a dough. After baking the crust, you spread a layer of vanilla pastry cream, and finally, you can artistically arrange an assortment of fruits. The optional glaze adds a beautiful finish that enhances both the appearance and flavor of the tart. With each step, you’ll find the process is beginner-friendly yet rewarding.
Ingredients
- Prep Time: 20 minutes
- Cook Time: 20 minutes
- Total Time: 1 hour
- Servings: 8
- 1 cup all-purpose flour
- 1/2 cup unsalted butter, softened
- 1/4 cup powdered sugar
- 1/4 teaspoon salt
- 1 large egg yolk
- 1 cup vanilla pastry cream
- Assorted fresh fruit (such as berries, kiwi, and peaches)
- Glaze (such as apricot jam or gelatin, optional)
The key ingredients for this tart include all-purpose flour for the crust, which provides a sturdy base. The unsalted butter gives the tart its rich flavor, while the powdered sugar ensures a sweet, melt-in-your-mouth crust. The vanilla pastry cream acts as an indulgent filling, and fresh fruits bring vibrancy and nutrition to the dessert. The optional glaze not only enhances flavor but also adds an appealing shine.

Step-by-Step Instructions
Follow these simple steps to create your own exquisite fruit tart:
- Preheat the Oven: Preheat your oven to 350°F (175°C). In a mixing bowl, combine the all-purpose flour, softened butter, powdered sugar, and salt. Mix until the mixture is crumbly.
- Prepare the Dough: Add the large egg yolk to the crumbly mixture and mix until it forms a dough. Make sure not to overwork it; the dough should just come together.
- Press and Bake: Press the dough into a tart pan evenly, making sure to cover the bottom and up the sides. Pierce the bottom of the crust with a fork to prevent bubbling. Bake for approximately 15-20 minutes or until the crust turns golden brown. After baking, allow it to cool completely.
- Spread the Filling: Once the tart shell is completely cool, spread the vanilla pastry cream evenly over the crust. Use a spatula to ensure a smooth layer.
- Arrange the Fruit: Now comes the fun part! Gather your assorted fresh fruits and arrange them on top of the pastry cream. Get creative—arranging them in a circular pattern or in rows can make the tart look like a masterpiece.
- Optional Glaze: If you’re using a glaze, gently heat the apricot jam in a small saucepan until it becomes liquid. Brush the warm glaze over the arranged fruit to give it a lovely shine and enhance the flavor.
- Chill and Serve: Refrigerate the tart until you are ready to serve. This chilling step helps set the cream and flavors.
Pro Tip: Be careful when brushing the glaze over the fruit. Too much glaze can make the fruit soggy, while too little won’t give the desired shine.
Serving Suggestions to Enhance the Experience
When it comes to serving your Homemade Fruit Tart, presentation matters! You can serve each slice alongside a dollop of whipped cream for added creaminess. Pair it with a scoop of vanilla ice cream, which complements the tart’s freshness beautifully. For drinks, a light, bubbly sparkling wine or a refreshing iced tea would contrast wonderfully with the sweetness of the tart. This dessert is perfect for special occasions such as birthday parties, brunch gatherings, or summer barbecues. Its vibrant colors will surely be a showstopper!
How to Store and Maintain Freshness
After making this delightful dessert, you might wonder how to store it to keep it fresh. The fruit tart can be stored in the refrigerator for up to 2 days. Place it in an airtight container to prevent the crust from becoming soggy. If you make it ahead of time, it’s best to add the fresh fruit and glaze on the day you plan to serve it, as they maintain their texture and flavor best when fresh. Unfortunately, freezing a fruit tart isn’t recommended, as the fruits will change texture upon thawing.
Essential Tips for a Successful Bake
Here are some tips to ensure your fruit tart turns out perfectly:
- Chill Your Ingredients: Keep your butter cold when making the dough; this ensures a flaky crust.
- Don’t Overmix: When combining the dough, mix just until incorporated to avoid a tough tart.
- Use Fresh Ingredients: Always opt for the freshest fruits you can find to bring out the best flavors.
- Check for Doneness: Keep an eye on your tart crust as it bakes; every oven is different, and it can go from golden to burnt quickly.
- Customize Your Filling: You can add a splash of vanilla extract to the pastry cream for an extra flavor boost.
Common pitfalls include underbaking the tart crust (resulting in a doughy texture) or mishandling the fruit arrangement, which can affect presentation.
Creative Twists on the Classic Recipe
This Homemade Fruit Tart can be easily adapted to suit your taste. Here are some ideas for variations:
- Different Pastry Cream Flavors: Try adding lemon zest or almond extract to the pastry cream to change up the flavor profile.
- Seasonal Fruits: Use the fruits that are in season for the freshest flavors. In the fall, for example, pears and figs can be a delightful choice.
- Swap the Crust: Experiment with a graham cracker crust or a nut-based crust for a different texture and taste.
- Vegan Version: Substitute the butter with coconut oil and use a plant-based milk for the pastry cream to create a vegan-friendly dessert.
These variations allow you to make the fruit tart your own, keeping it exciting and fresh!
Common Questions About Making Fruit Tarts
- Can I make the pastry cream ahead of time? Yes! You can prepare the pastry cream a day in advance and store it in the fridge.
- What can I do if my tart crust is too crumbly? If the dough is too crumbly, add a splash of cold water, a little at a time, until it holds together better.
- How long does the tart last in the refrigerator? The fruit tart is best enjoyed within 2 days when stored properly in an airtight container.
- Can I use frozen fruit? While fresh is preferred for the best taste and presentation, if you’re using frozen fruit, make sure it’s completely thawed and drained.
- What kind of tart pan should I use? A fluted tart pan with a removable bottom makes it easy to release and serve the tart.