
Are you looking for a wholesome snack that’s both nutritious and satisfying? Look no further! These Healthy Nut & Seed Energy Cookies are the perfect solution for anyone wanting to enjoy something delicious without the guilt. Packed with a variety of nuts, seeds, and oats, these cookies deliver an impressive punch of energy, all while being incredibly easy to make. They are perfect for busy weekdays when you need a quick pick-me-up, delightful for weekend get-togethers, or even ideal for lunchboxes. Dive into this recipe for a delightful, health-conscious treat that’s sure to become a new favorite!
What Makes This Recipe So Good
This recipe stands out for several reasons. First and foremost, it’s incredibly easy to prepare. You only need a few simple ingredients and less than thirty minutes from start to finish. That’s music to a busy cook’s ears!
Additionally, these cookies are customizable. You can easily adjust the ingredients based on what you have at home or your dietary needs. Want to add some chocolate chips or perhaps throw in some dried fruit? The options are endless! Plus, they’re budget-friendly, making it easier to enjoy a healthy option without breaking the bank.
Simple Steps to a Delicious Treat
The process of making these cookies is straightforward. First, you’ll combine your dry ingredients in one bowl and your wet ingredients in another. Then, mix them together, scoop, and bake! This simple method ensures that even novice bakers can create something delicious in no time. Let’s not waste any more time and get started on this delightful recipe!
Ingredients
Before diving into the cooking process, here’s what you’ll need:
- Prep Time: 10 minutes
- Cook Time: 10-12 minutes
- Total Time: 20-22 minutes
- Servings: Approximately 12 cookies
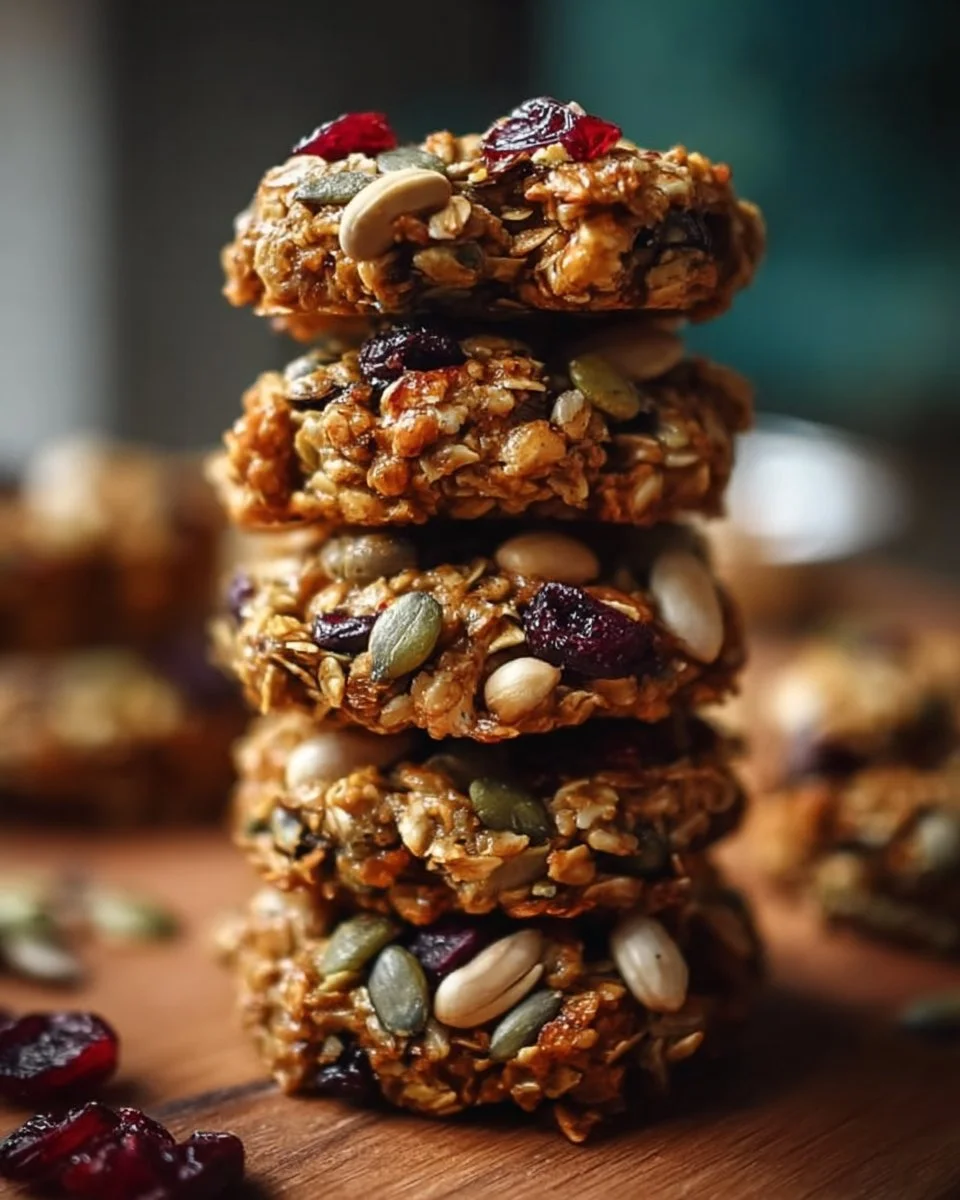
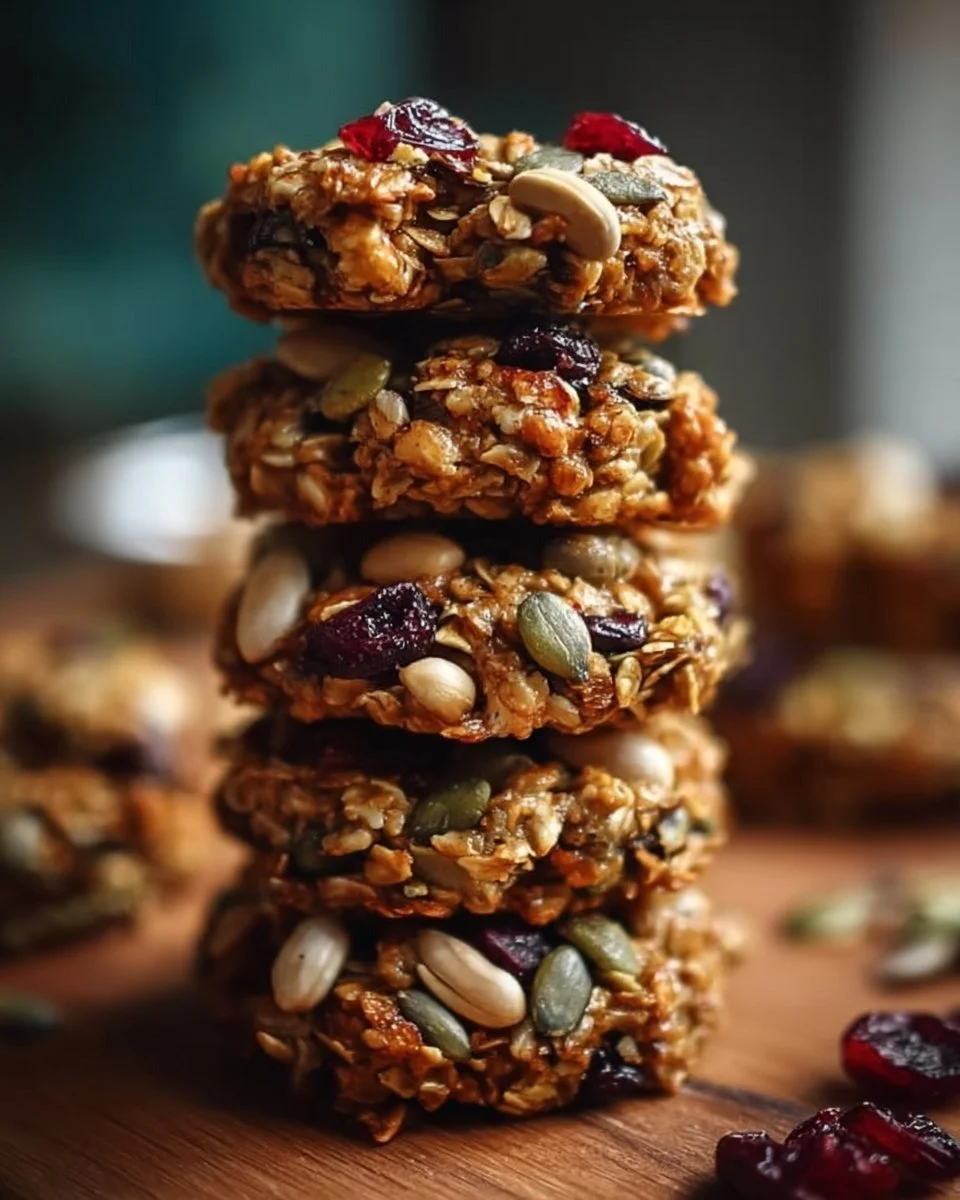
- 1 cup mixed nuts (almonds, walnuts, cashews)
- 1/2 cup seeds (pumpkin seeds, sunflower seeds)
- 1/2 cup rolled oats
- 1/3 cup honey or maple syrup
- 1/4 cup nut butter (almond or peanut)
- 1 tsp vanilla extract
- Pinch of salt
- Optional: dark chocolate chips or dried fruit for added sweetness
Step-by-Step Instructions
Now that you have all your ingredients, let’s jump into the preparation:
- Preheat your oven to 350°F (175°C).
- In a large bowl, combine the mixed nuts, seeds, and rolled oats. This mix will provide a great crunch and texture to your cookies.
- In a small saucepan, warm the honey (or maple syrup) and nut butter over low heat until melted. Stir in the vanilla extract and a pinch of salt for enhanced flavor.
- Pour the melted wet ingredients over the dry mixture and mix well until everything is fully combined. Be sure to coat all ingredients evenly.
- Scoop tablespoon-sized amounts of the mixture onto a lined baking sheet, spacing them appropriately to allow for spreading.
- Bake for 10-12 minutes or until they turn golden brown. Keep an eye on them towards the end to avoid overcooking.
- Allow the cookies to cool completely on the baking sheet before enjoying. This cooling process is crucial; they’ll firm up as they cool.
Remember to check them at the 10-minute mark, as oven temperatures can vary slightly. If you prefer softer cookies, you might want to take them out a minute earlier.
Delicious Ways to Serve These Cookies
These cookies are versatile and can be enjoyed in many different ways! Here are a few ideas:
- As a quick breakfast on the go, paired with yogurt and fresh fruit.
- For an afternoon snack alongside your favorite tea or coffee.
- At a picnic or potluck, serve them with fresh fruit and granola bars.
- You can even crumble them over a smoothie bowl for added crunch and nutrition!
Keeping Your Cookies Fresh
Storing your cookies properly ensures they last longer and stay delicious. Here’s how:
- In the Refrigerator: Store your energy cookies in an airtight container in the refrigerator for up to a week.
- In the Freezer: For longer storage, freeze the cookies in a single layer on a baking sheet. Once frozen, transfer them to an airtight container or freezer bag. They can last up to three months.
Reheating frozen cookies can be done in the microwave for a few seconds to enjoy them warm again. Alternatively, you can pop them in a toaster oven for a few minutes to restore their crunchy texture.
Expert Tips for Making the Perfect Cookies
Here are some pro tips to help you avoid common mistakes and make these cookies even better:
- Mix the dry ingredients thoroughly before adding the wet ones to ensure even distribution.
- Don’t skip the cooling step; this is essential for achieving the perfect texture.
- Use a good quality nut butter, as it significantly impacts the flavor of the cookies.
- If you prefer chewier cookies, reduce baking time slightly.
Creative Ingredient Variations
Feel free to get creative with your cookies! Here are some variations that work well:
- Swap out the mixed nuts for your favorite ones, like pecans or hazelnuts.
- Replace the honey with agave syrup for a vegan-friendly option.
- Add in spices like cinnamon or nutmeg for a warm flavor kick.
- Include protein powder to boost the health benefits without altering the taste too much.
- Try substituting some of the seeds with shredded coconut for a tropical twist.
Frequently Asked Questions
- Can I make these cookies gluten-free?
Yes! Ensure the oats and any other ingredients you use are certified gluten-free. - How can I make these cookies vegan?
Use maple syrup instead of honey and replace the nut butter with a vegan option. - What should I do if my dough is too dry?
If the mixture seems dry, try adding a bit of water or additional nut butter until it reaches a better consistency. - Can I skip the nuts?
Absolutely! You can double the amount of seeds or replace nuts with more oats for a different texture. - How do I know when the cookies are done baking?
Look for a golden color and check to see if they firm up slightly when you press them. They’ll continue to harden as they cool.